If your KitchenAid refrigerator door won’t seal properly, you may be dealing with a loose or misaligned gasket. A faulty seal not only affects your fridge’s cooling performance but can also lead to higher energy bills and spoiled food.
The good news? You don’t always need to call an appliance repair technician or replace the gasket right away. In many cases, a simple DIY fix using warm water and pressure can restore the seal and get your fridge running efficiently again.
This method is safe, effective, and suitable for most KitchenAid refrigerator models. Best of all, it doesn’t require glue, magnets, or complex tools—just a few minutes of your time and a bit of patience.
Why Your Fridge Door Isn’t Sealing Properly
Before diving into the fix, it’s important to understand what might be causing the issue:
- The gasket has warped or popped out of its groove.
- The rubber has become stiff or unresponsive from age or temperature exposure.
- The door was left open for an extended period, causing the gasket to lose shape.
- Accumulated dirt or debris is preventing a tight seal.
If the gasket is torn, brittle, or completely detached, this method may not work—and that’s when you should consider gasket replacement or professional repair services.
Step-by-Step Guide: Reconditioning Your KitchenAid Refrigerator Gasket
Tools & Materials Needed:
- Hot water (from kettle or microwave-safe container)
- Clean microfiber cloth or towel
- Rubber spatula or flat spoon handle
- Optional: Hairdryer (on low heat)
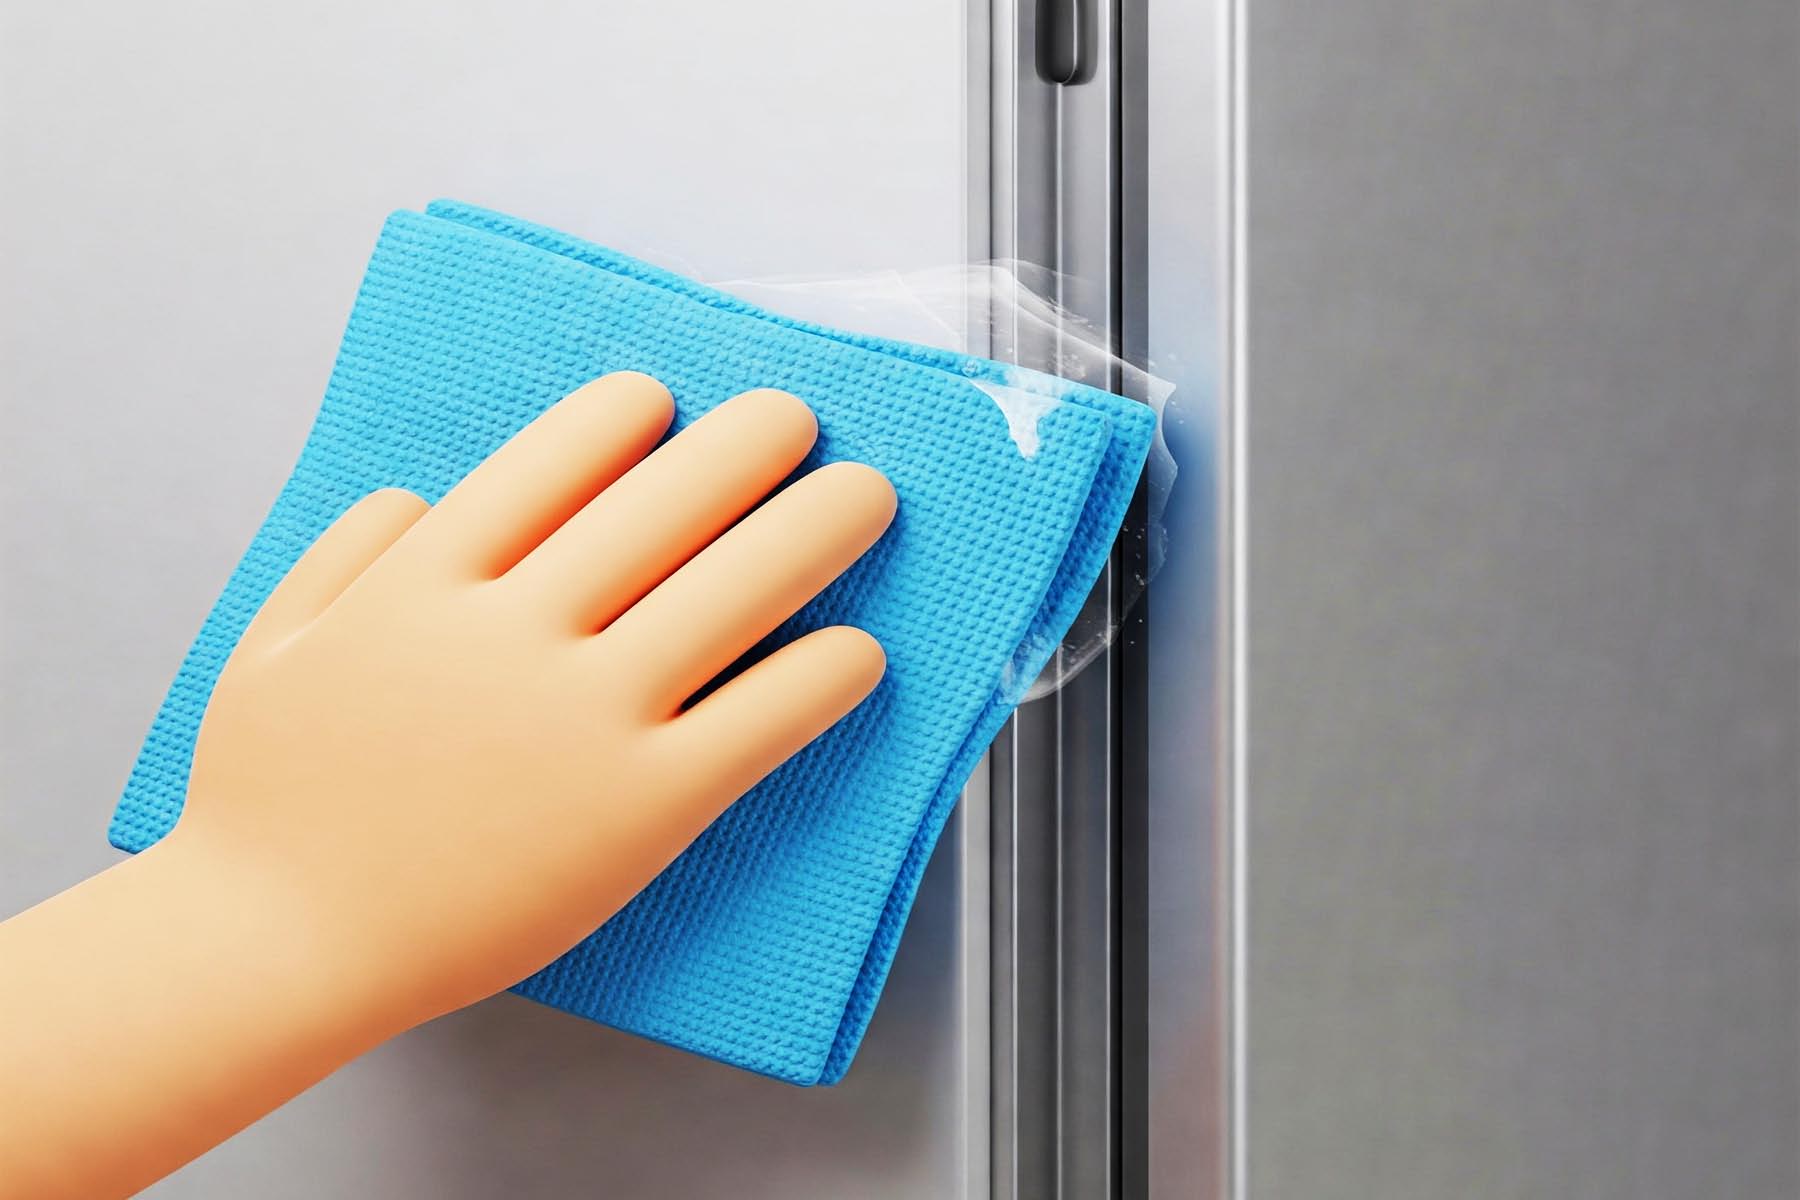
Step 1: Clean the Gasket and Groove
Begin by wiping down both the rubber gasket and the metal channel it sits in. Use warm, soapy water to remove any buildup of dust, grease, or debris. Dry thoroughly before proceeding.
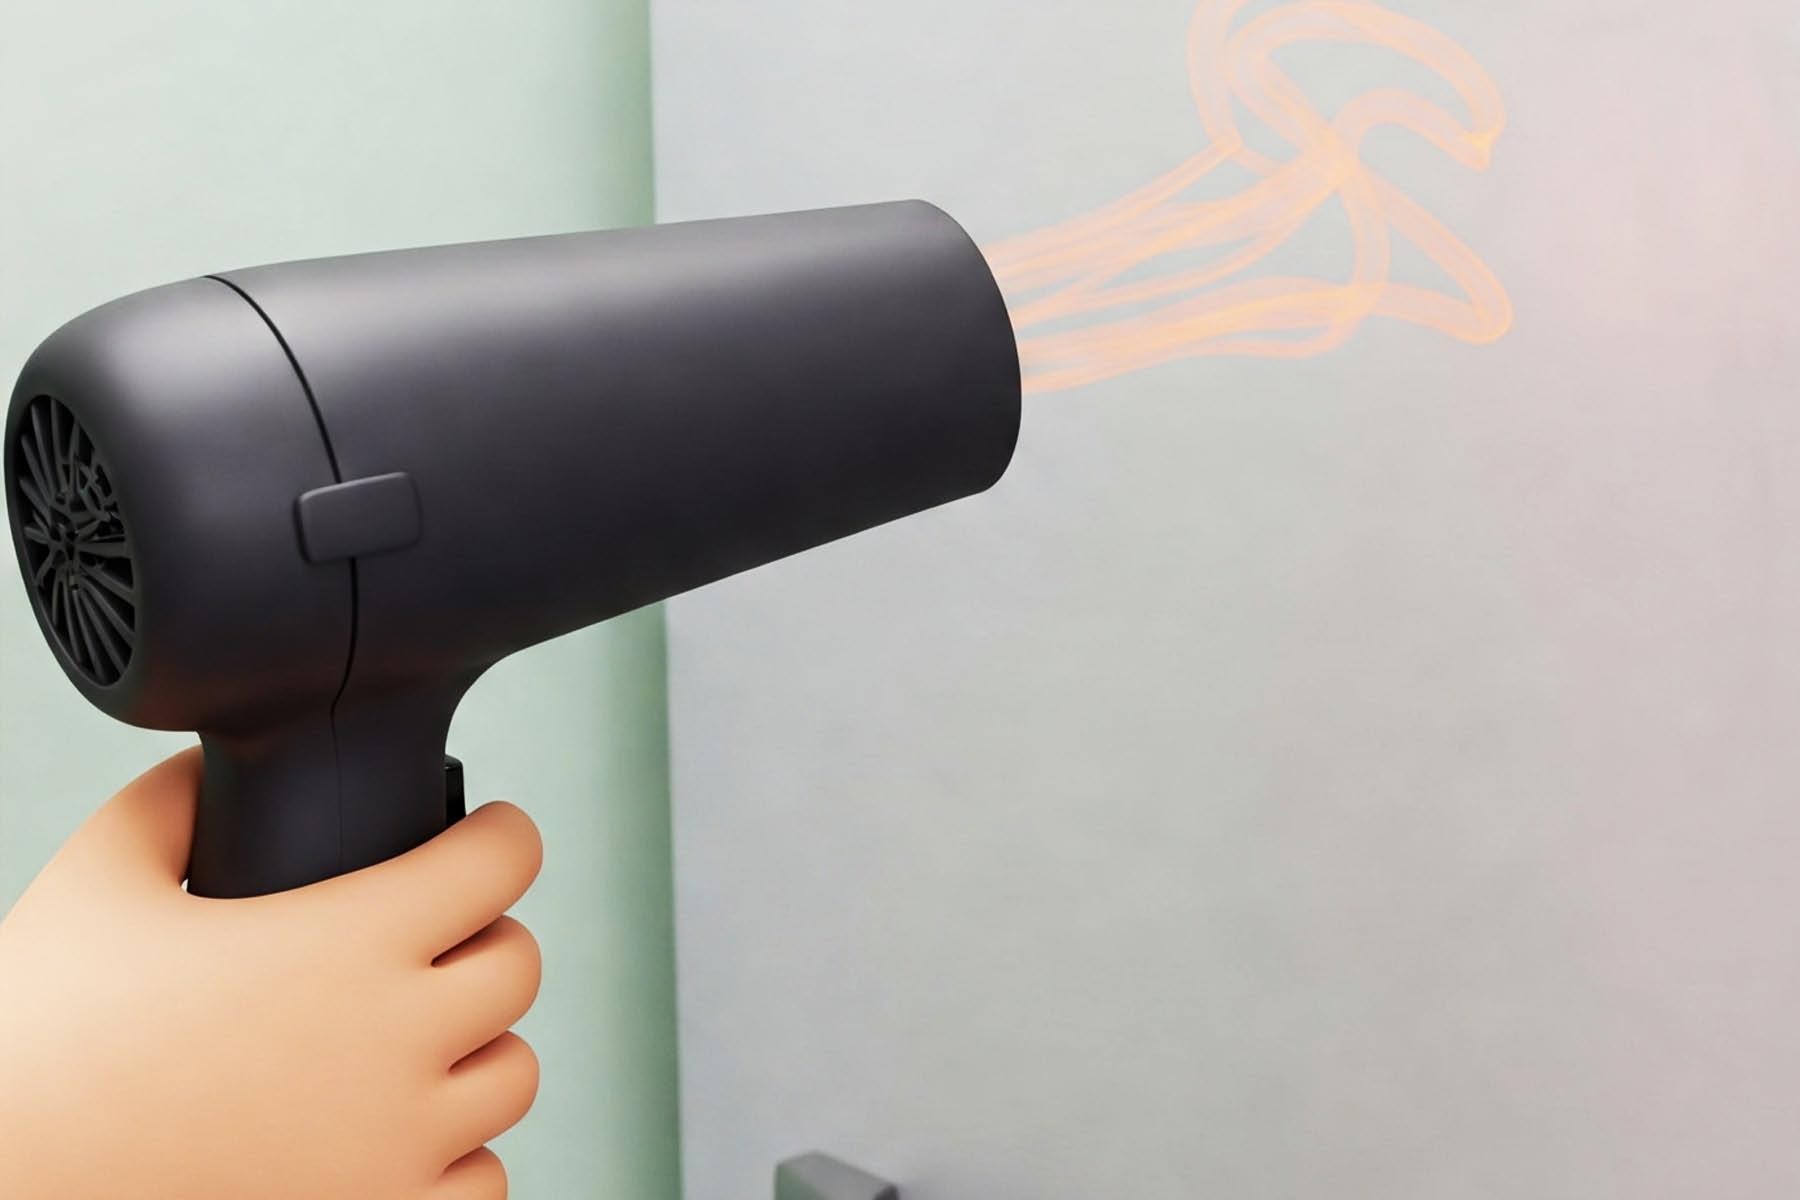
Step 2: Warm the Gasket Slightly
Pour hot water over the gasket or use a hairdryer on low heat to gently warm the rubber. This makes it more pliable and easier to reshape.
Step 3: Reshape and Re-seat the Gasket
Using light pressure, press the gasket back into the groove with a rubber spatula or the handle of a spoon. Work slowly around the entire perimeter of the door until the gasket is fully seated.
Step 4: Apply Pressure Overnight
Close the refrigerator door securely and allow it to remain closed for several hours to help the gasket reseal properly. The natural magnetic pull and hinge tension will help the gasket conform to the shape of the frame.
Step 5: Test the Seal
After 12 to 24 hours, check the seal by inserting a piece of paper or a dollar bill into the door and closing it firmly. Try to pull it out—if it slides freely, repeat the process or assess whether a gasket replacement is necessary.
Bonus Tip: Keep Your Gasket Flexible
To maintain flexibility and prolong the life of your gasket, apply a small amount of silicone-based lubricant or paraffin wax along the edges every few months.
When to Call a Professional Appliance Repair Service
While this DIY method works well for minor issues, some problems require expert attention:
- Cracked, dry, or torn gasket
- Misaligned or sagging refrigerator door
- Persistent sealing issues after multiple attempts
- Unusual noises or poor cooling performance
If you’re experiencing any of these symptoms, it’s best to contact a trusted local repair service.
Trust AA Appliance Repair for All Your KitchenAid Needs
At AA Appliance Repair, we specialize in diagnosing and repairing all major home appliances, including KitchenAid refrigerators, washers, dryers, ovens, and more. Our team provides fast, reliable service to Dripping Springs, TX, and surrounding areas.
Whether your fridge isn’t sealing, your washer is shaking, or your oven won’t heat, our certified technicians have the skills and tools to get your appliances back in working order—quickly and affordably.
📍 Serving Dripping Springs, TX and nearby communities
- Belterra
- Headwaters
- Caliterra
- Saratoga Hills
- Twin Lake Hills
- West Cave Estates
- Ranches At Hamilton Pool
- Deer Creek Ranch
- Valley Lake Hills
- Saddletree Ranch
Fixing a loose KitchenAid refrigerator door gasket doesn’t always mean calling a repair service or replacing the part entirely. With a little warmth, pressure, and patience, you can often restore the seal yourself—saving time, money, and unnecessary hassle.
For top-pro service with over 300 five-star reviews on Thumbtack, trust AA Appliance Repair for the latest trends and premier appliance repair services in Dripping Springs and the Austin Metropolitan Area. Schedule an appointment with AA Appliance Repair at 512 316 5177 or leave a message on our website. Experience added benefits with our Loyalty Discount Program and Proactive Maintenance Plans for Long-Term Performance.
Service Coverage: Georgetown, Cedar Park, Round Rock, Pflugerville, Hutto, Leander, Liberty Hill, and Austin.
Extended Service Areas: Bee Cave, Lago Vista, Lakeway, Jonestown, Kyle, Buda, Dripping Springs, Lockhart, and San Marcos.